SIMPLE 4-STEP FIDO KEY DEPLOYMENT
FIDO/PASSKEY SETUP OVERVIEW
*For best compatibility, we strongly recommend setting up the key on a computer first. Once registered, you can use it seamlessly on both PC and mobile devices.
1. Set PIN using Thetis Manager
2. Choose Site from FIDO-compatible web accounts
3. Add Key to your selected account
4. Verify Login by signing in again on desktop or mobile.
**Watch the following video to learn how to secure your Amazon account with FIDO/PASSKEY. [Steps are similar for other web accounts.]
STEP 2: Choose A Service to Protect
Thetis Security Keys work seamlessly with hundreds of popular services that support FIDO2 and Passkey standards.

STEP 3: Register Your Key to Protect Your Account
We will demo setup on a GOOGLE ACCOUNT and similar steps apply to your other accounts.
**Try perform this on a computer with Chrome Browser for Maximum compatibility.
**Try perform this on a computer with Chrome Browser for Maximum compatibility.
1
Access Account Security Settings
First, log in to your google account, and visit account security settings. Scroll down the page and click on "Passkeys" or "2-Step Verification".
Google Acccount Security Setting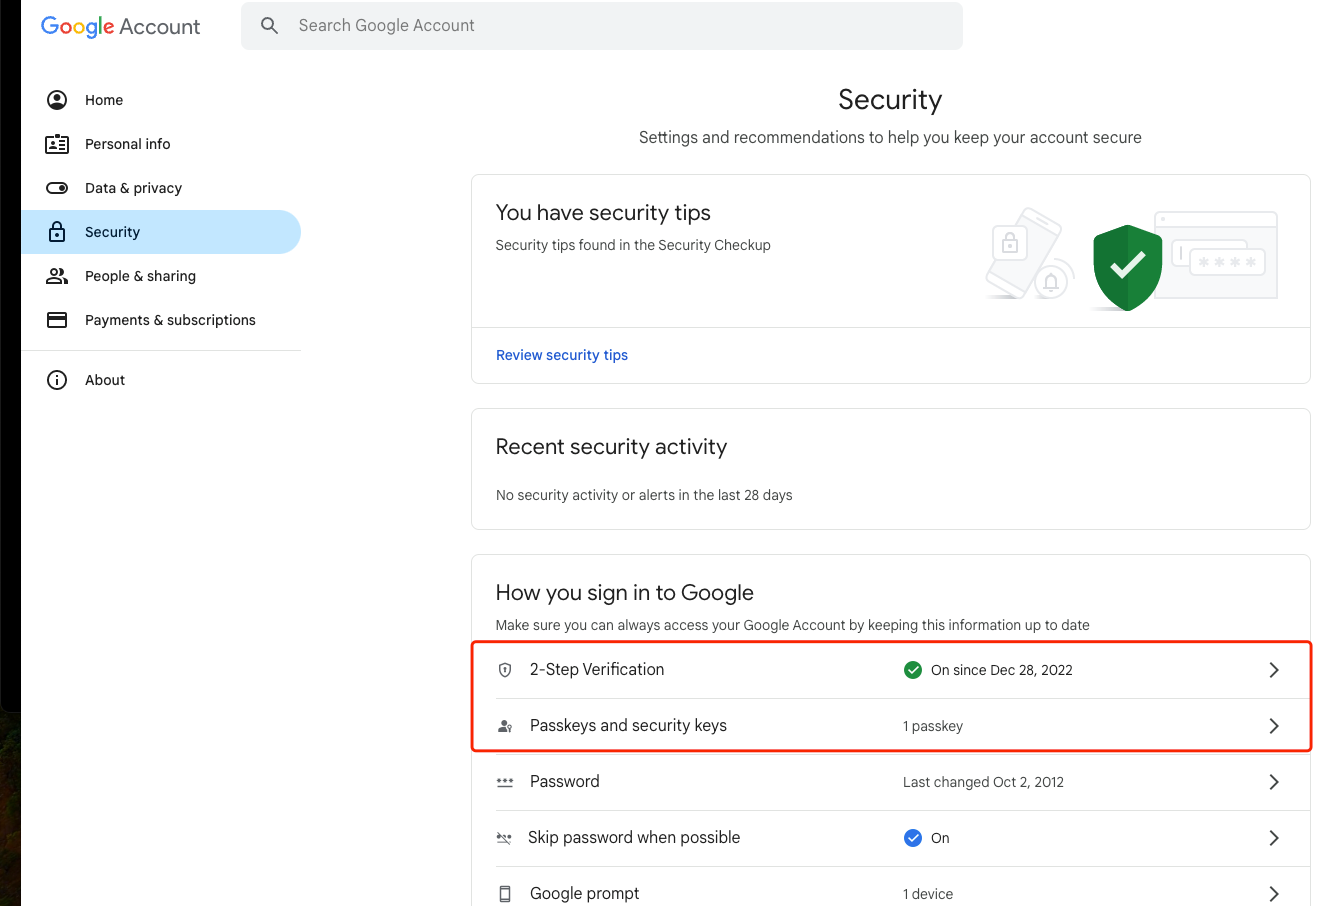
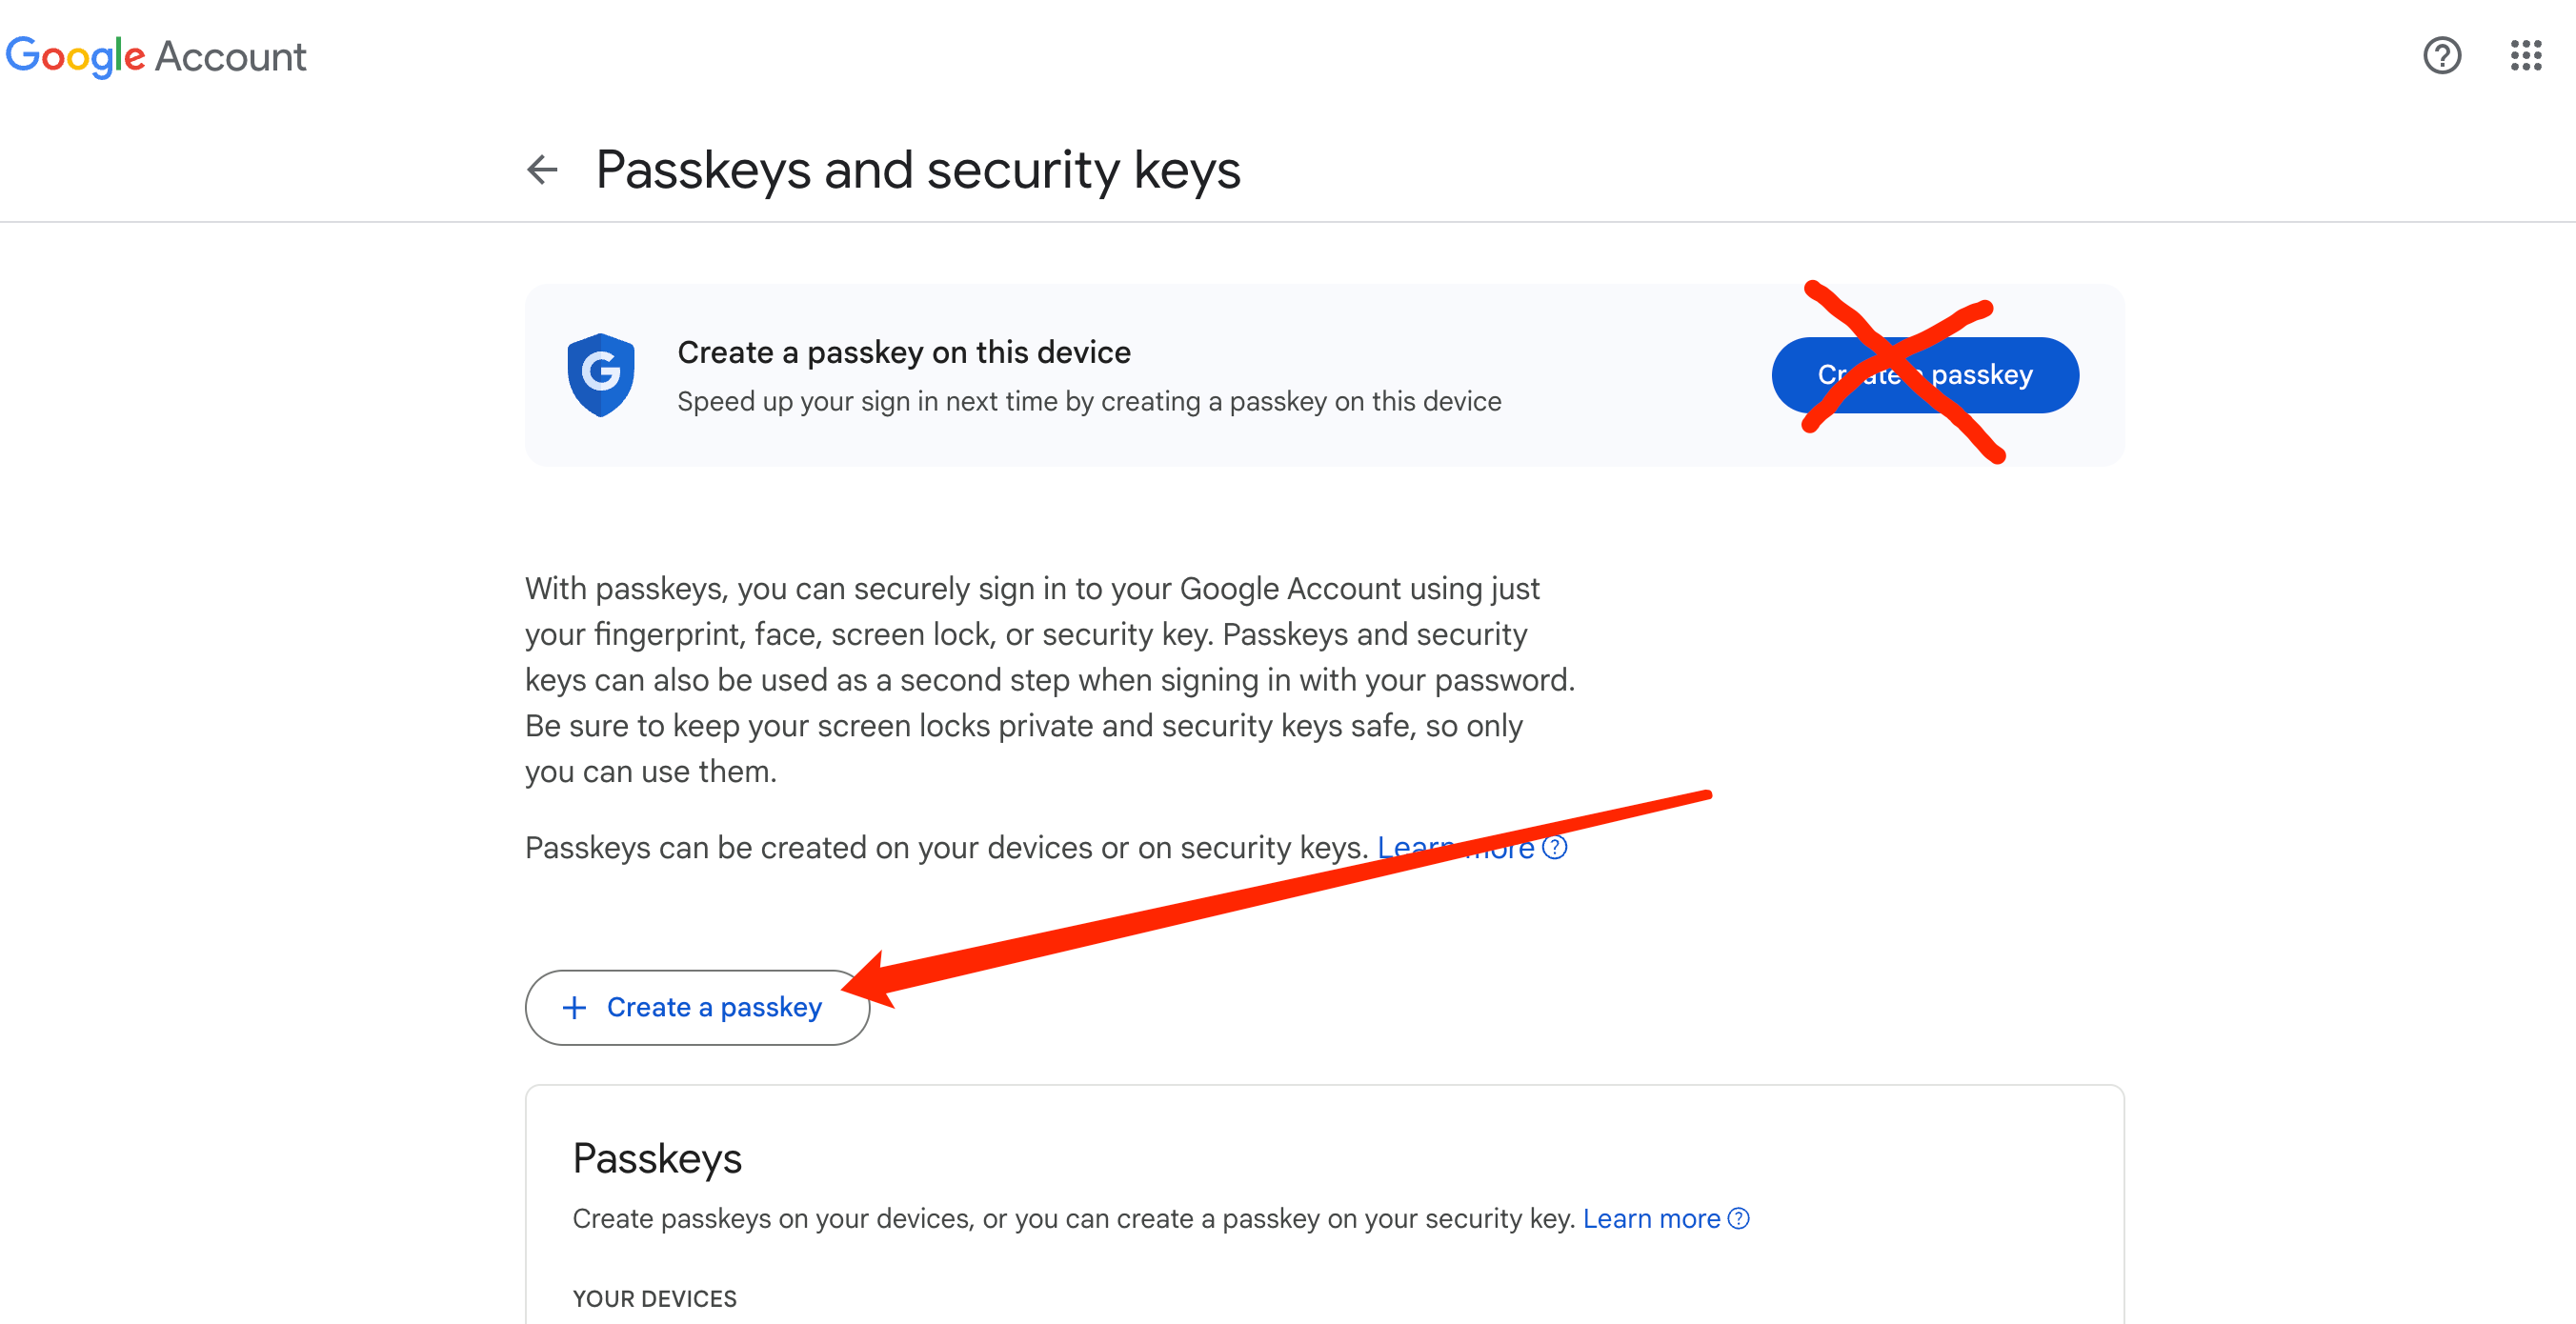
2
Enable Passkey/FIDO Function
Navigate through 2-Step verification and passkey settings, until you see this page. Click on the "Create a Passkey" option in the middle of the page.
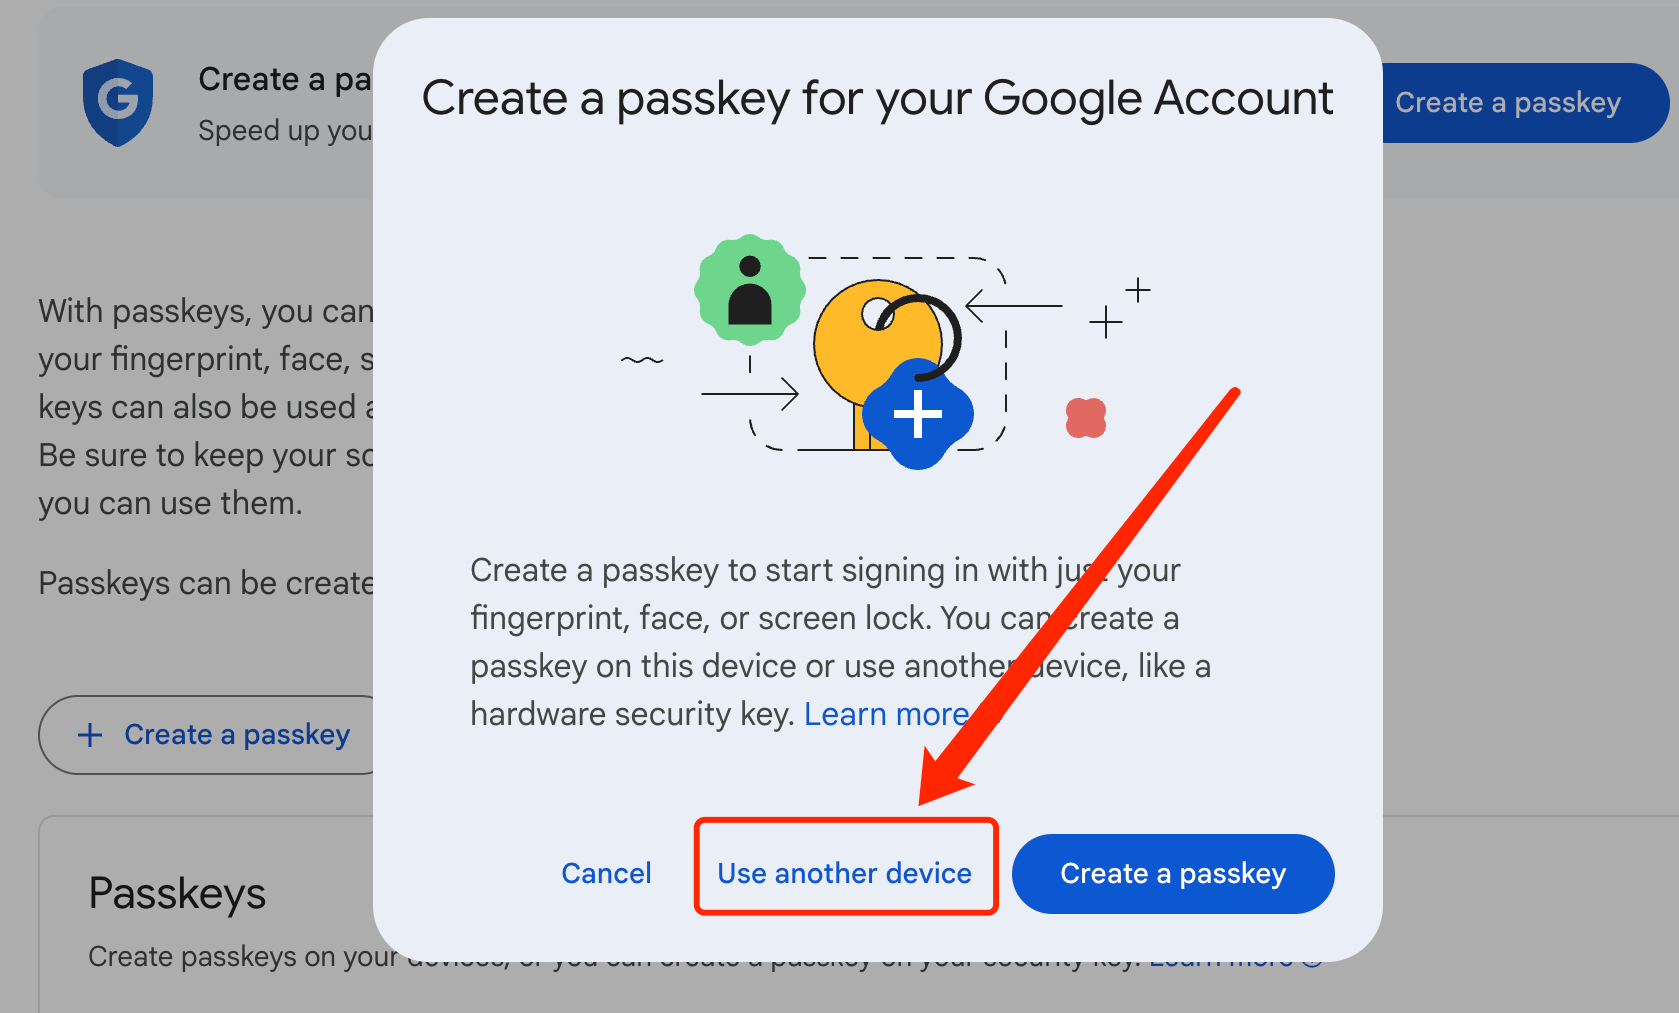
3
Register Thetis Key for Passkey/FIDO
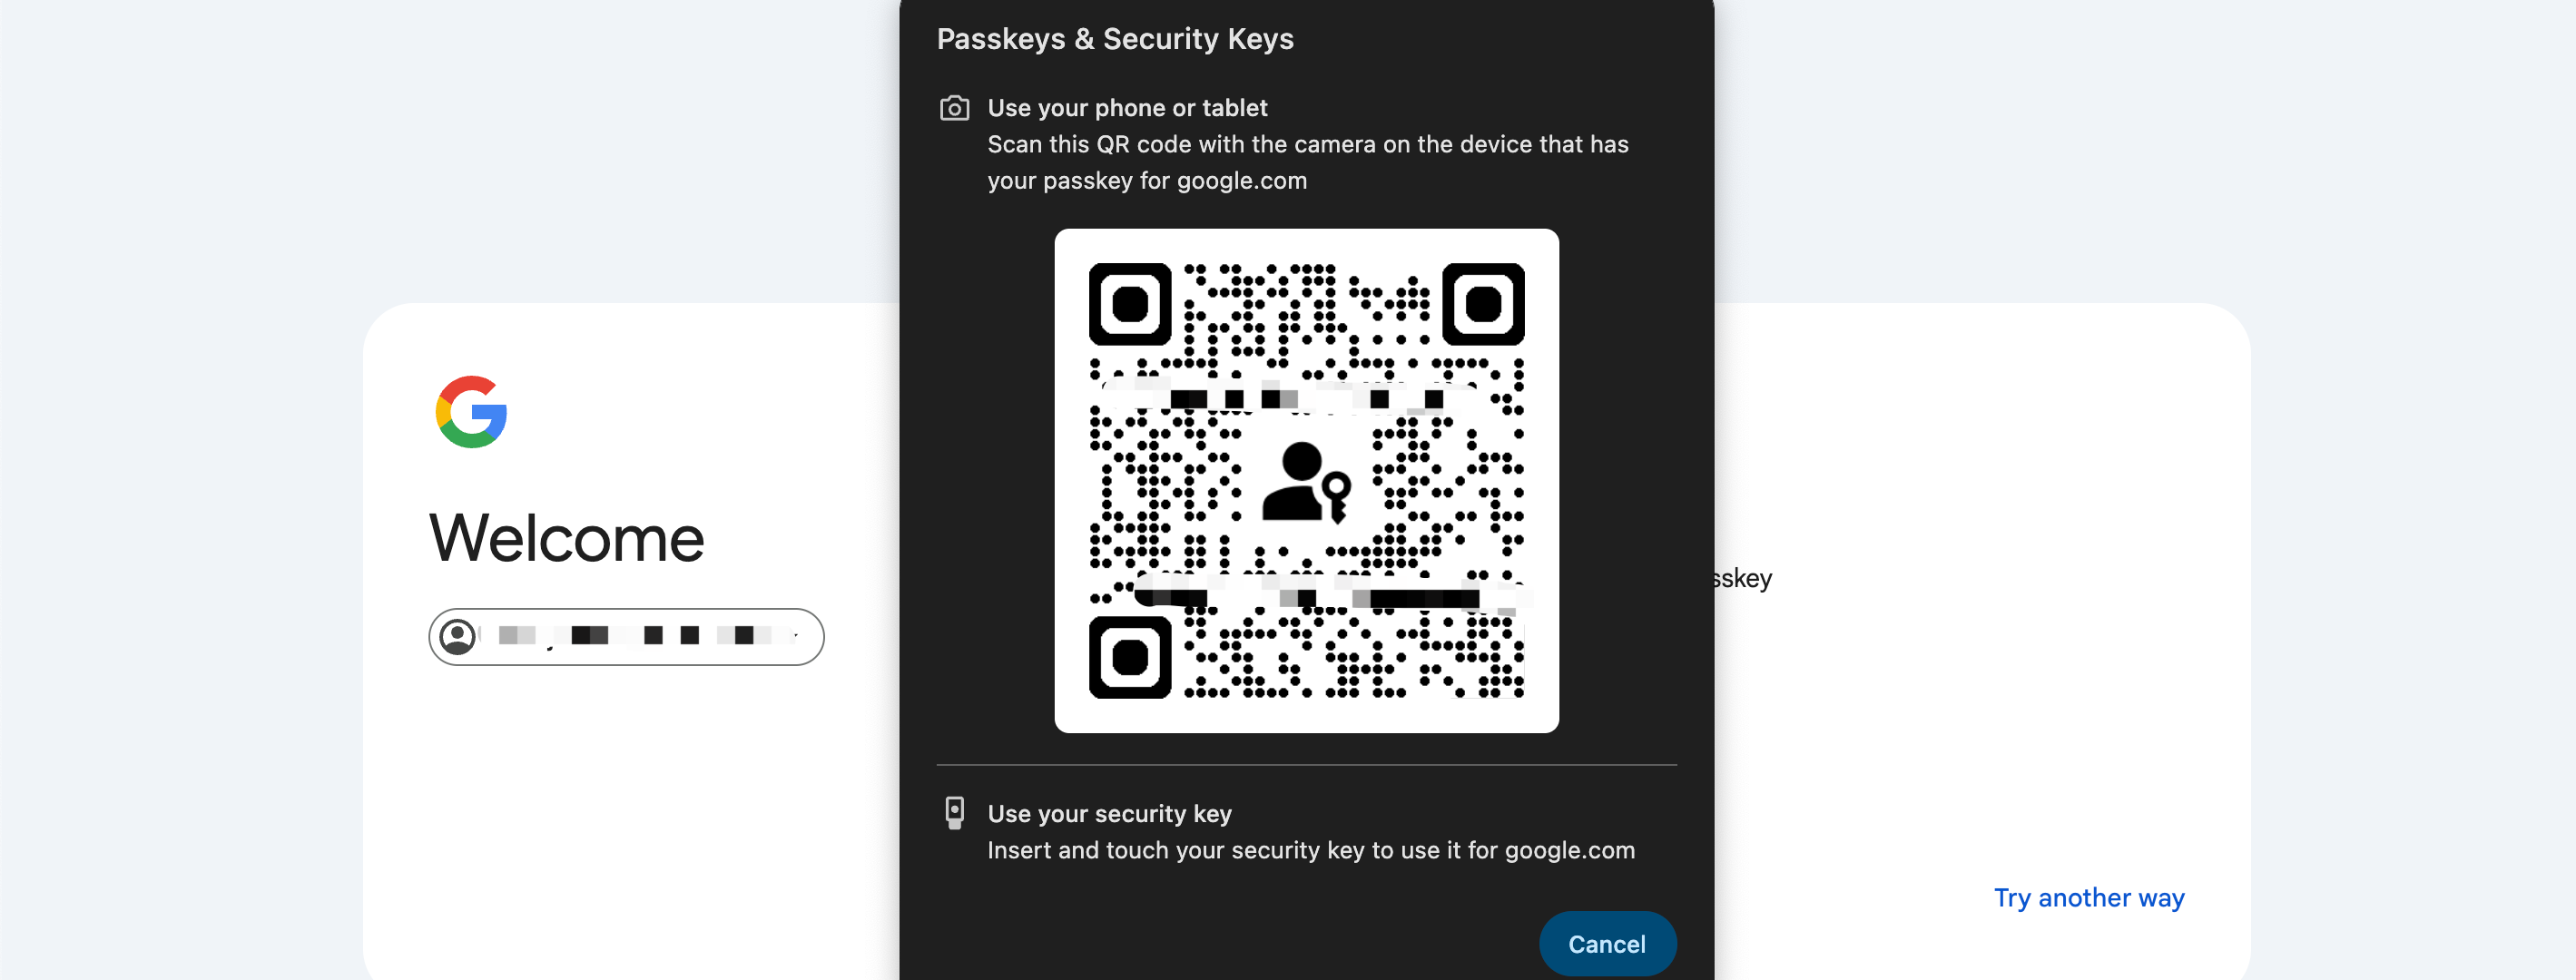
Click on "Use Another Device" (this option is to engage Thetis Key as a passkey, rather than storing passkey on your current computer).
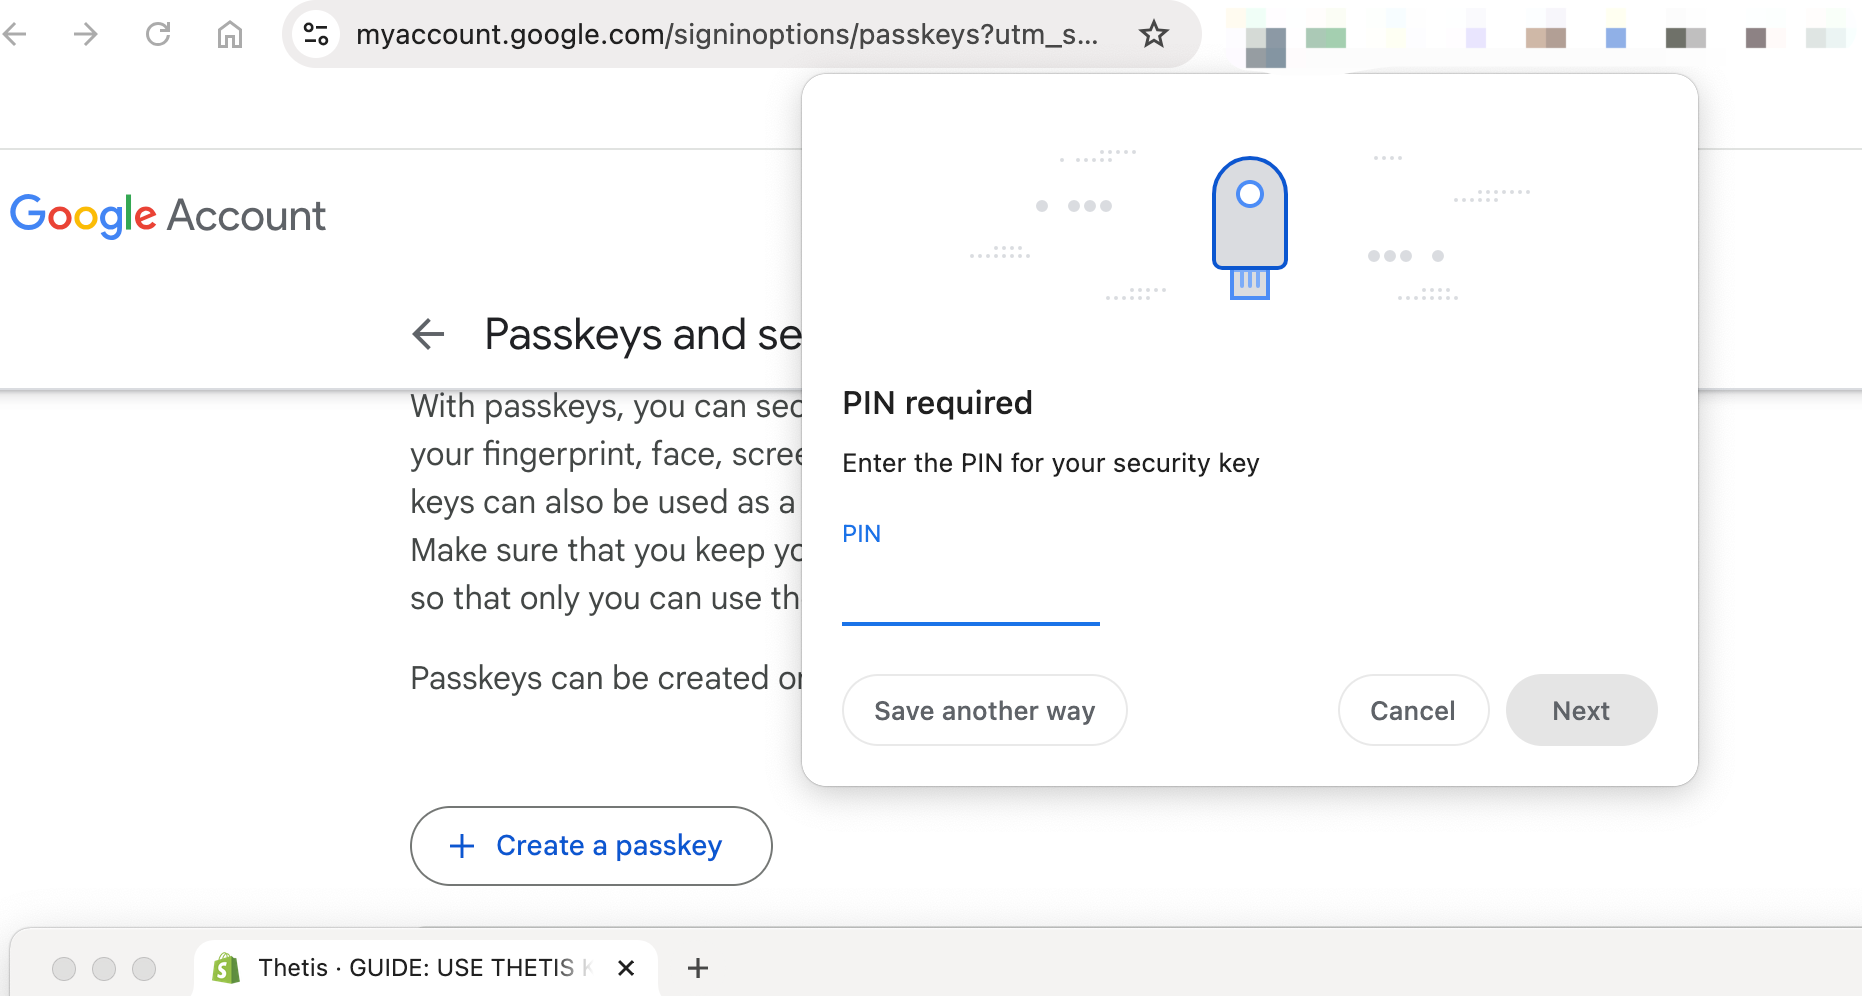
4
Plug in the key and Complete Setup
Follow the on screen instructions, to plug in the key. Enter the PIN or press the button on the key when prompted. Once you complete all the procedures, your Thetis Key is now enabled for Passkey/Fido verification for your account.
STEP 4: Login to Verify Key Setup
- Log out of your account and sign back in.
- When prompted, choose Passkey or Security Key as your verification method.
- Insert the Thetis Key into a USB port and enter your PIN if prompted.
- To verify mobile login via NFC (if supported), instead of insert key into USB, unfold the key and place it near your phone’s NFC reader to authenticate.
Additional Features for Advanced Users
After identify your security use case, follow the corresponding guide below to complete your Thetis Key Registration.
1. Passwordless Login (Passkey Functionality)
Use your Thetis Key as a passkey to authenticate without passwords on supported services.
Passkey Deployment Guides
2. FIDO2 2FA Authentication
Strengthen your account security by adding two-factor authentication (2FA) using FIDO2 technology.
FIDO 2FA Deployment Guide
3. TOTP 2FA Code Storage
Store 2FA TOTP seed on physical keys access 6-digit OTP securely with Thetis APP instead of Google Authenticator.
TOTP 2FA Deployment Guide
4. Secure Password Manager
Pair your Thetis Key with password managers like 1Password, LastPass, or Bitwarden to manage your passwords securely.
Thetis with Password Manager Guide

